It is absolutely true that a picture is worth a thousand words, especially when it comes to teaching children with communication delays. Using visuals with children diagnosed with Autism Spectrum Disorder has been well documented, but they are also very helpful for all children. It really is better to point to a picture, rather then talk, talk and talk some more.
Temple Grandin, a well known adult with ASD (Autism Spectrum Disorder) has shared that she “thinks in pictures” and using visuals has helped her to become a successful independent person. She recommended that teachers and parents adjust the environment and their teaching strategies to this type of communication. Teachers can use visual supports to assist students who have difficulty with social interactions, behavioral challenges, organization, transition and communication.
When I first began to use visuals with my class, I would display a medium size visual with a word or phrase in the order of activities that we were going to do. I had a daily schedule and another for group activities. I didn’t use it for every step of the day, I wasn’t sure HOW to.
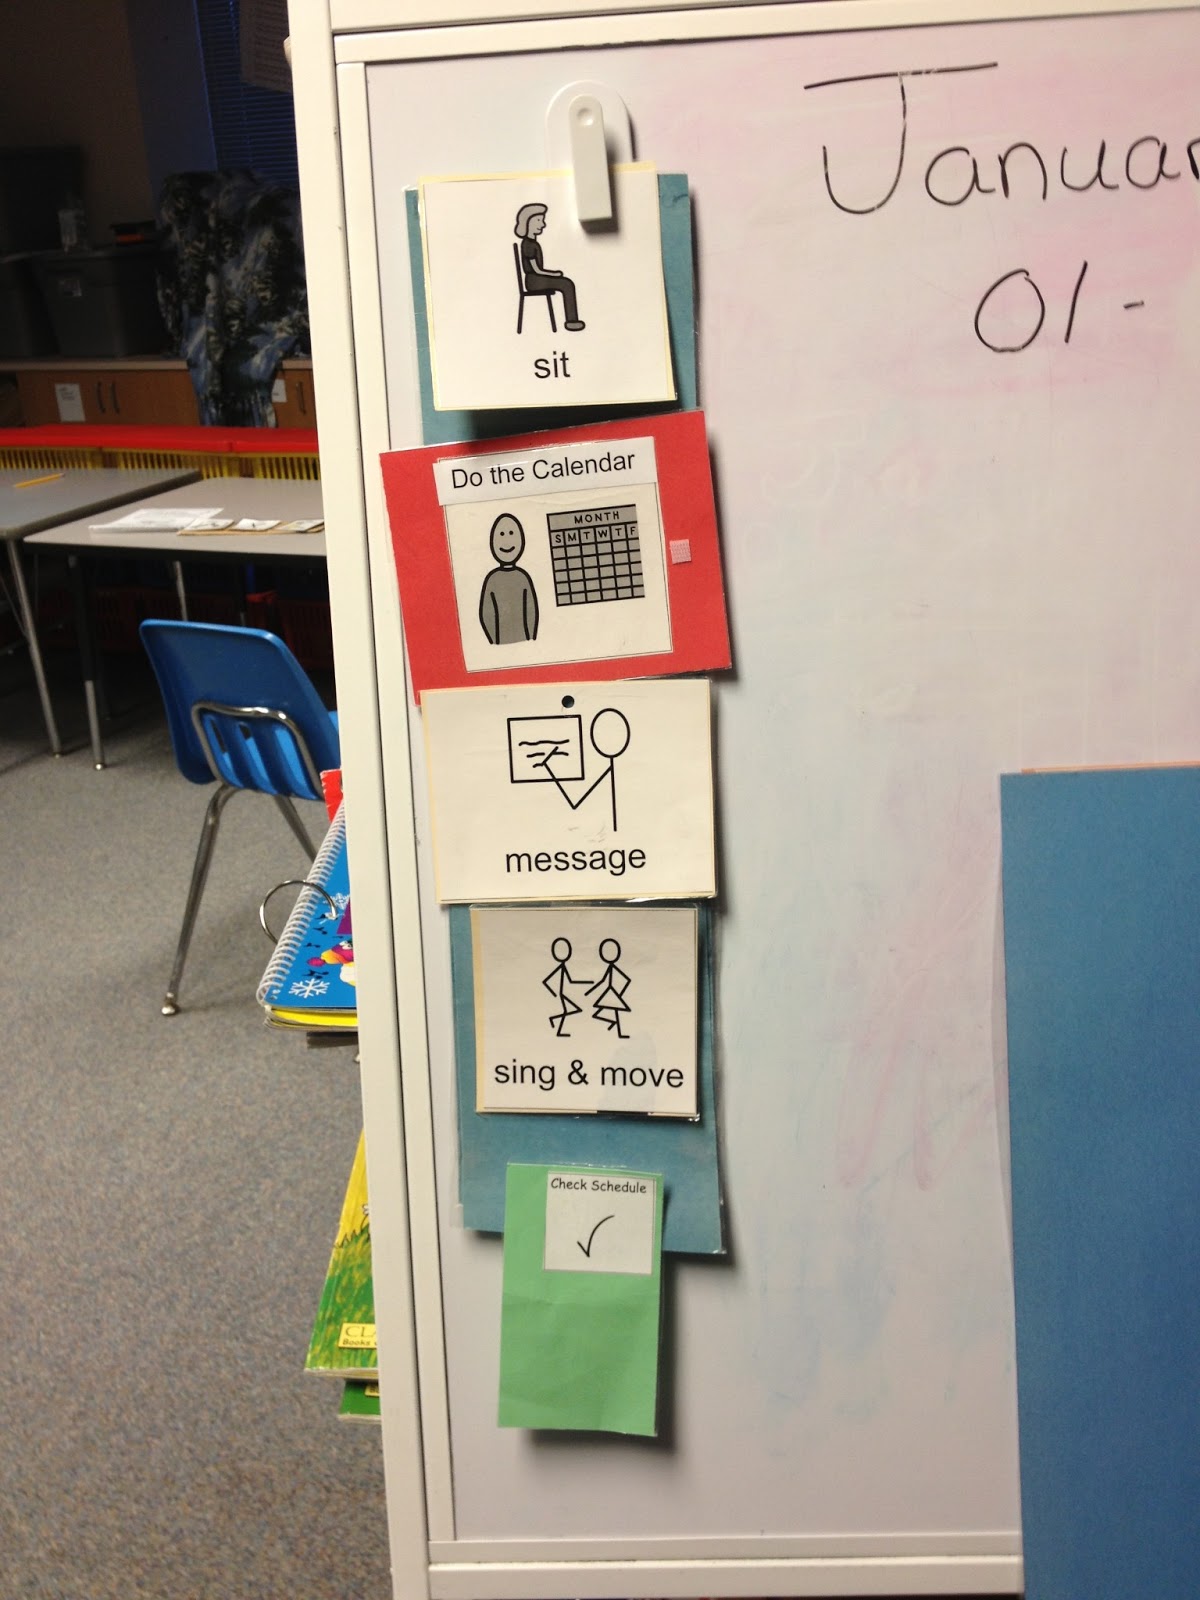 |
| A schedule for Circle time |
When we began to expand the use of visuals, each student had his or her own schedule, the type of visuals varied, based on each student’s skill level:
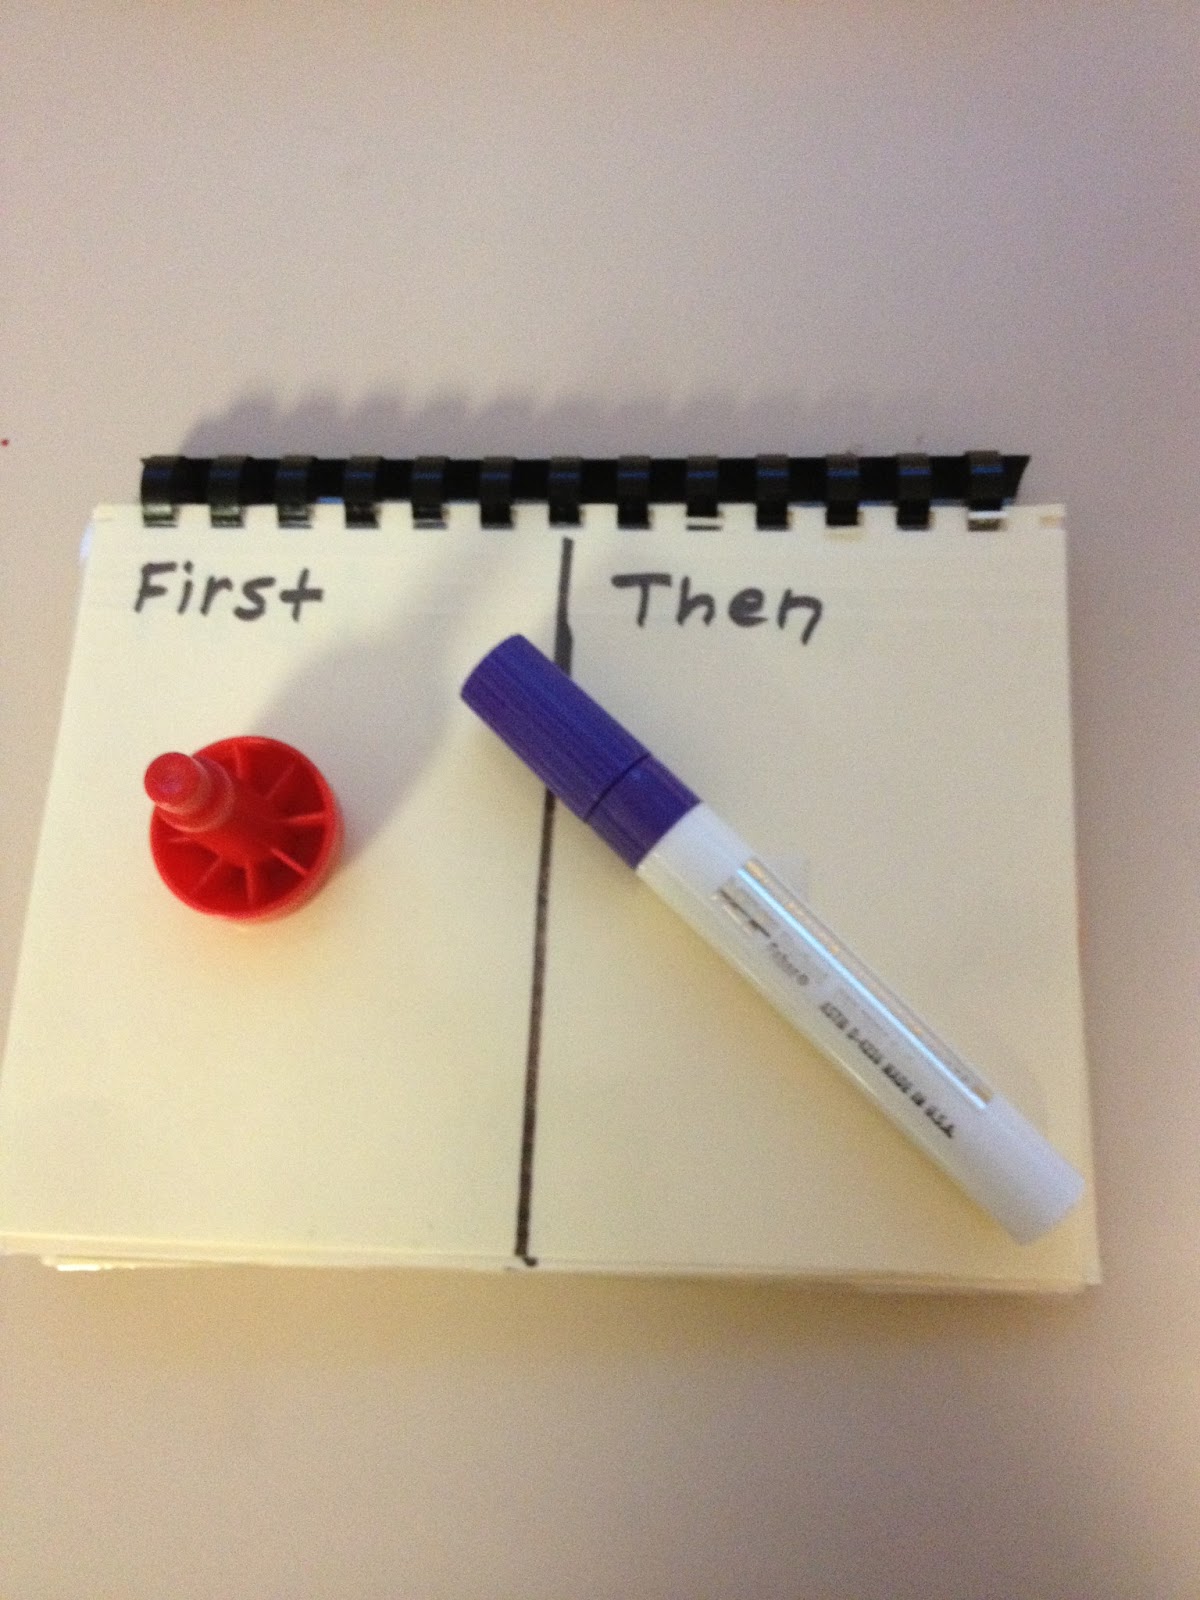 |
| Object first/then schedule |

b) photos or drawings: There are some handy software programs to assist with picture schedules. Taking digital photos is also a good option. Taking a picture of the place they need to go to is very helpful.
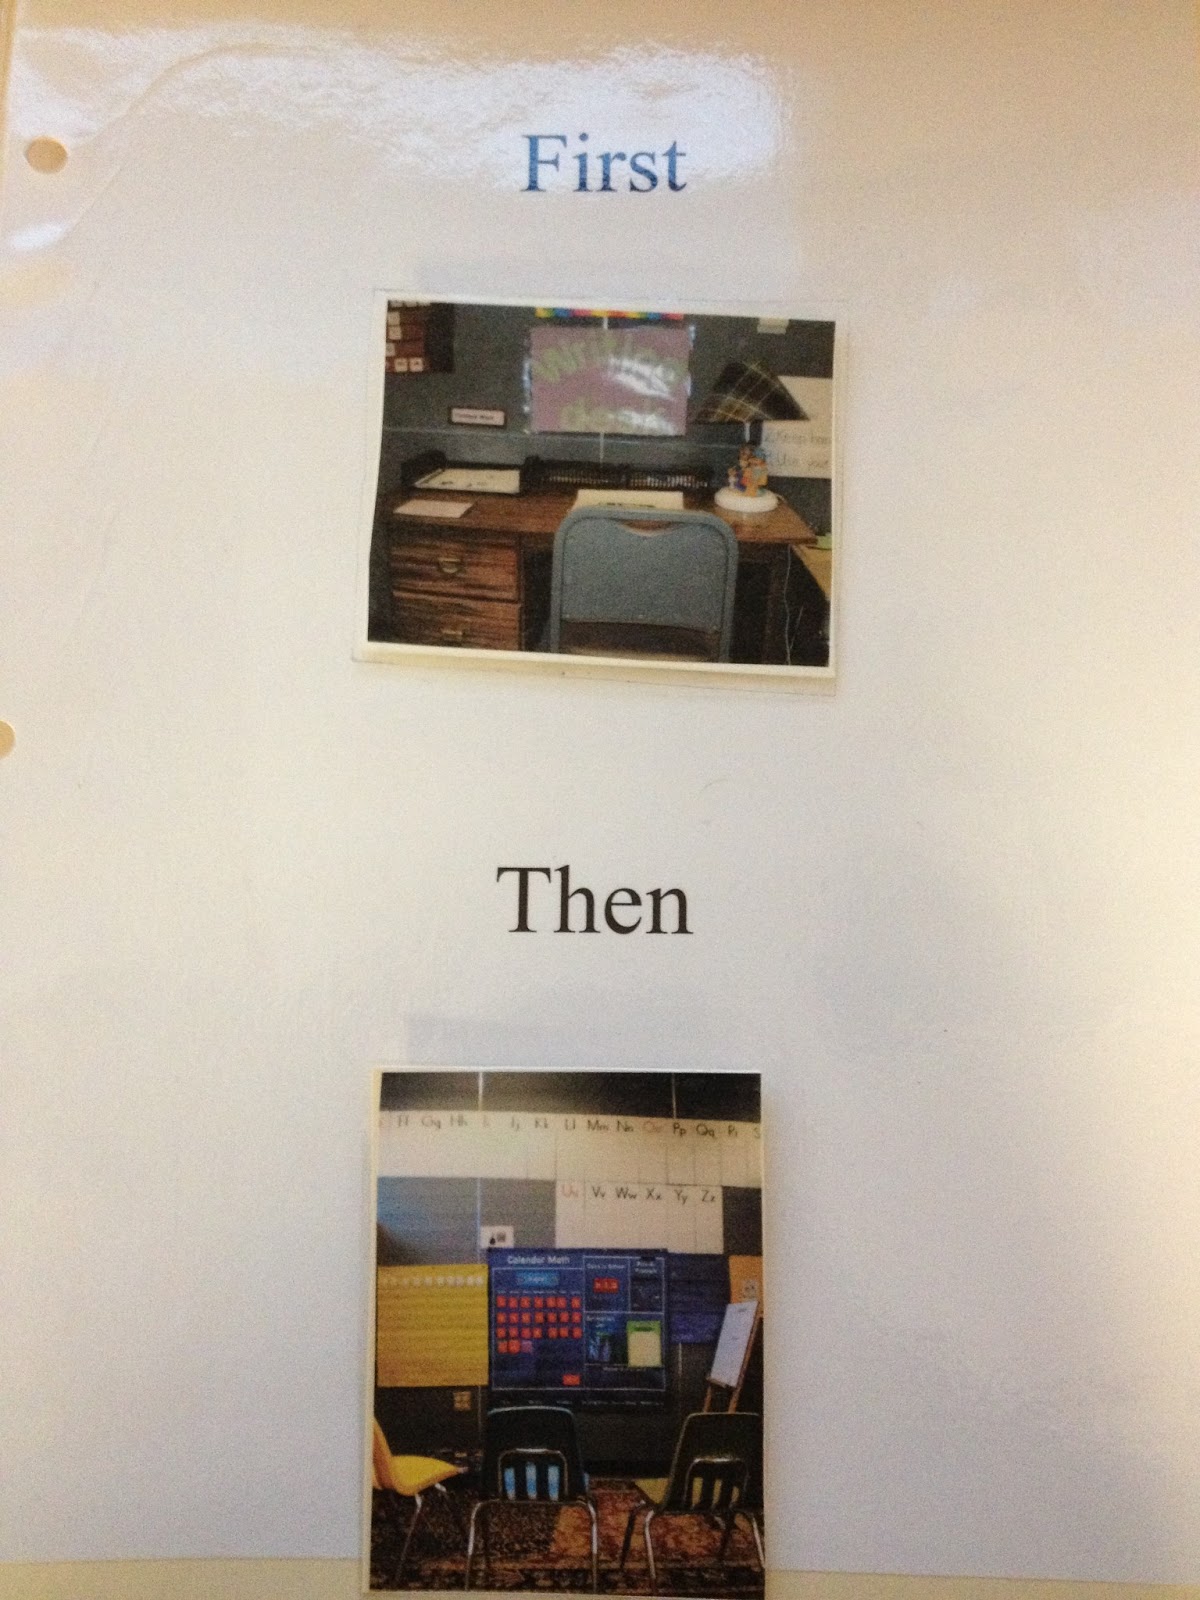 |
| Digital photos |
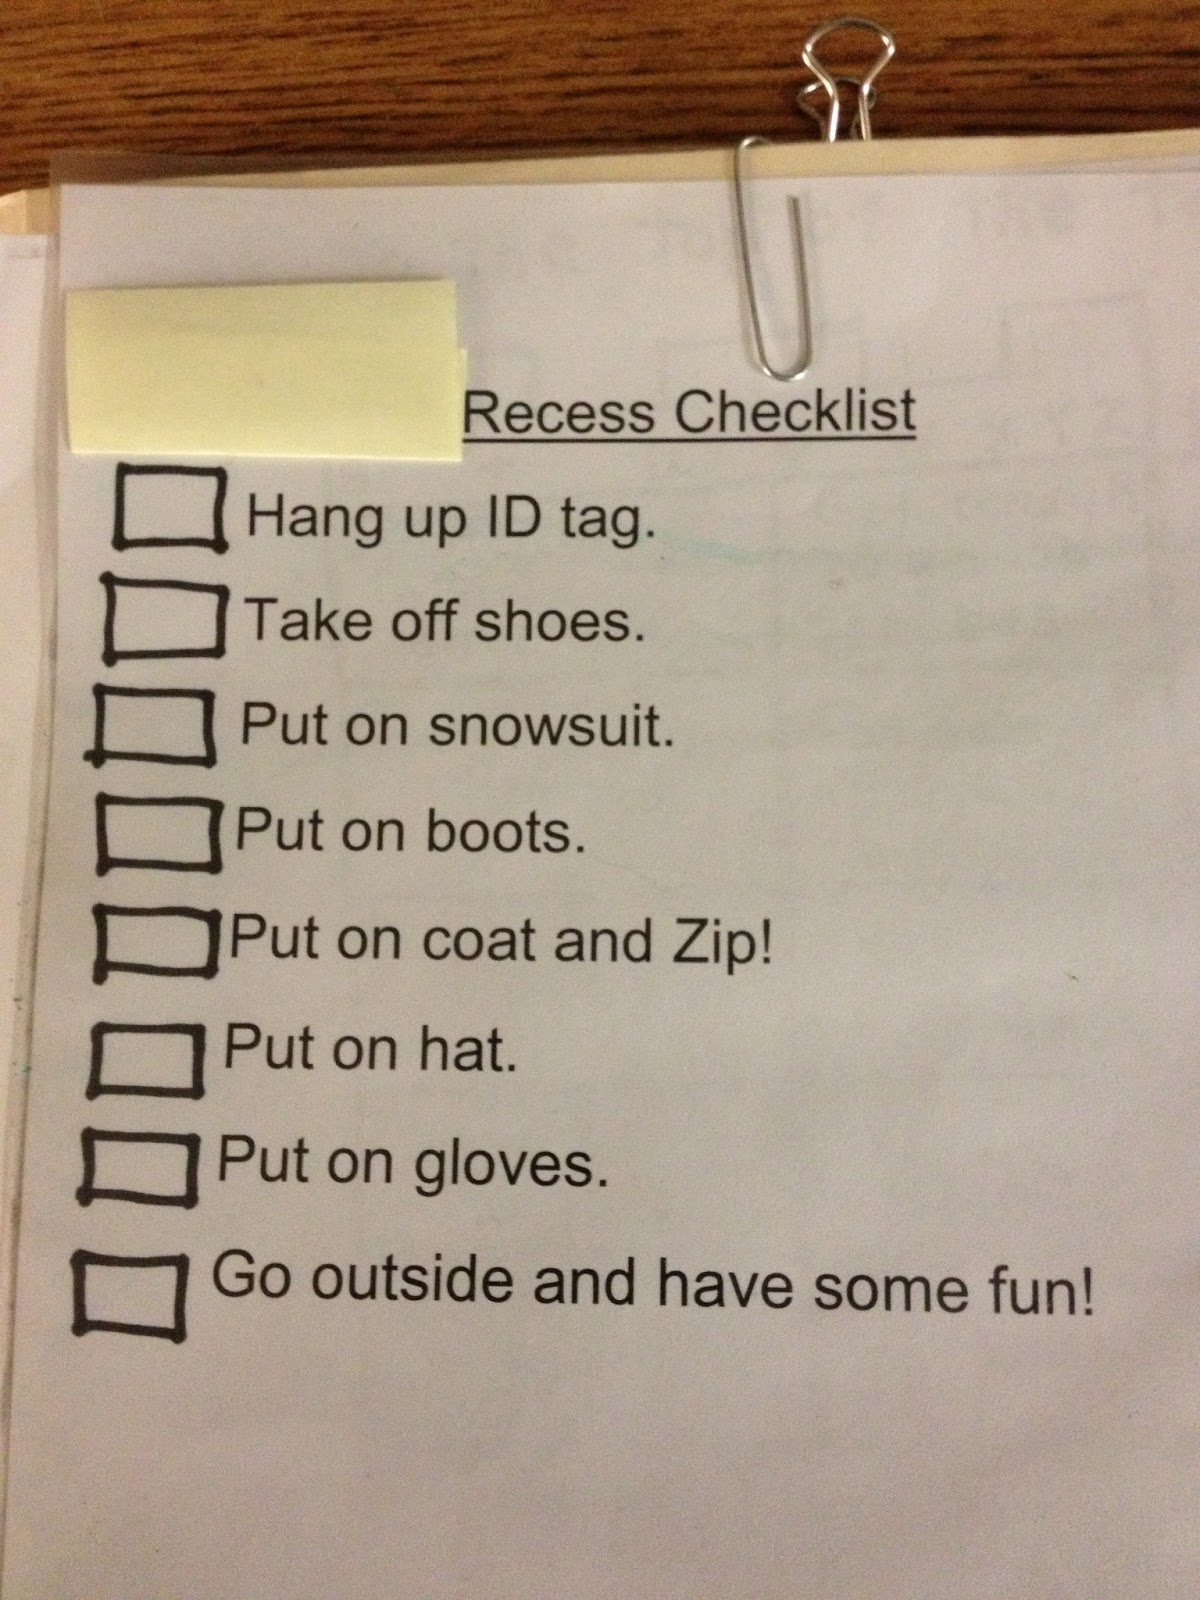 |
| A checklist for the reader |
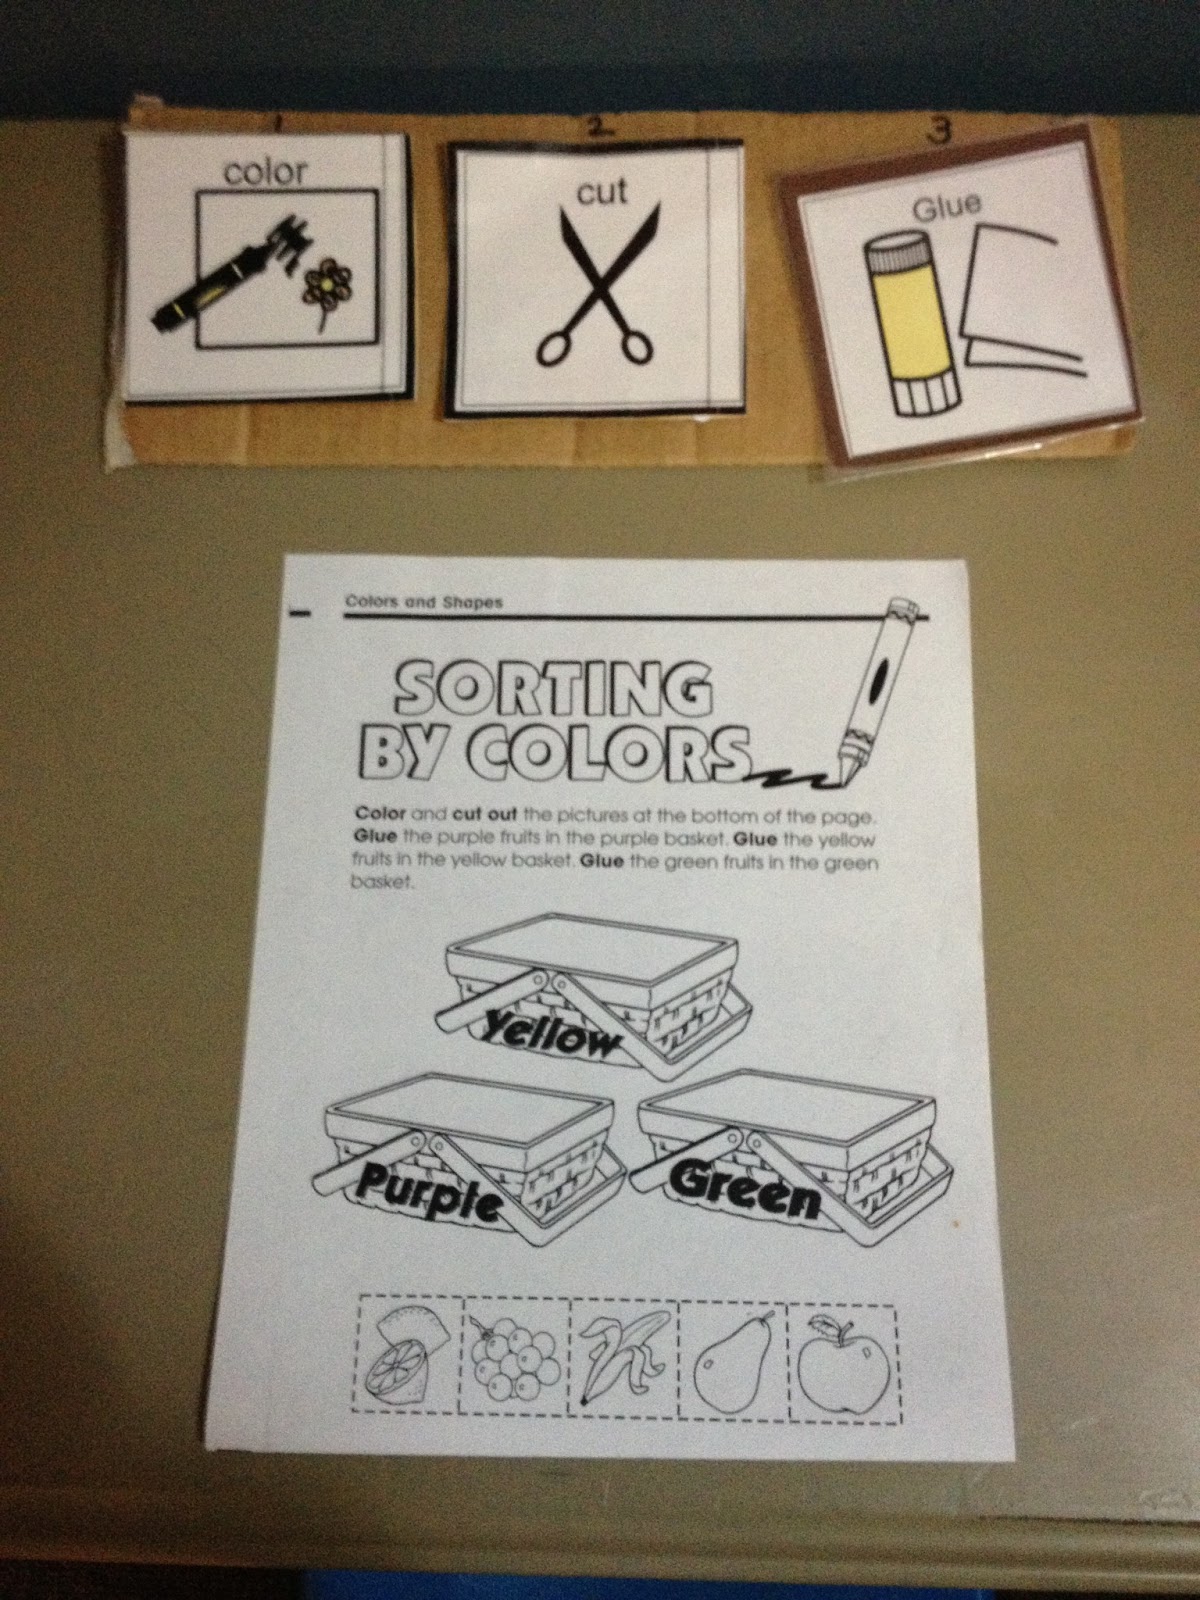
c) words/phrases/sentences: Introducing words/phrases with a picture is many times the best way to ease into using words only. Students who can read are successful using a clipboard with their schedule attached, they can read and cross off each item as they complete it. A plastic sleeve is useful in putting the schedule in and erasing at the end of the day.
Depending on the student’s ability, the idea is to move them up through these type of schedules, the less cumbersome the schedule, the more mobile it is, and the more successful the schedule is in the long term.
Here’s the process:
1. Hand student a “check your schedule” cue. The cue can be a card or an object such as a domino.
2. Student goes to their schedule, located at their home desk or perhaps located in a central area that is for transitions.
3. Student looks at their schedule, if they have a removable item, they take it with them, the item/picture card leads them to their destination. They may place the item in something at the destination, an envelope or a box or even a puzzle or peg board where their piece finishes it.
4. At their destination, the next picture schedule tells what is happening while they are there, what is expected and when it ends. It is reassuring to them to know it will end!

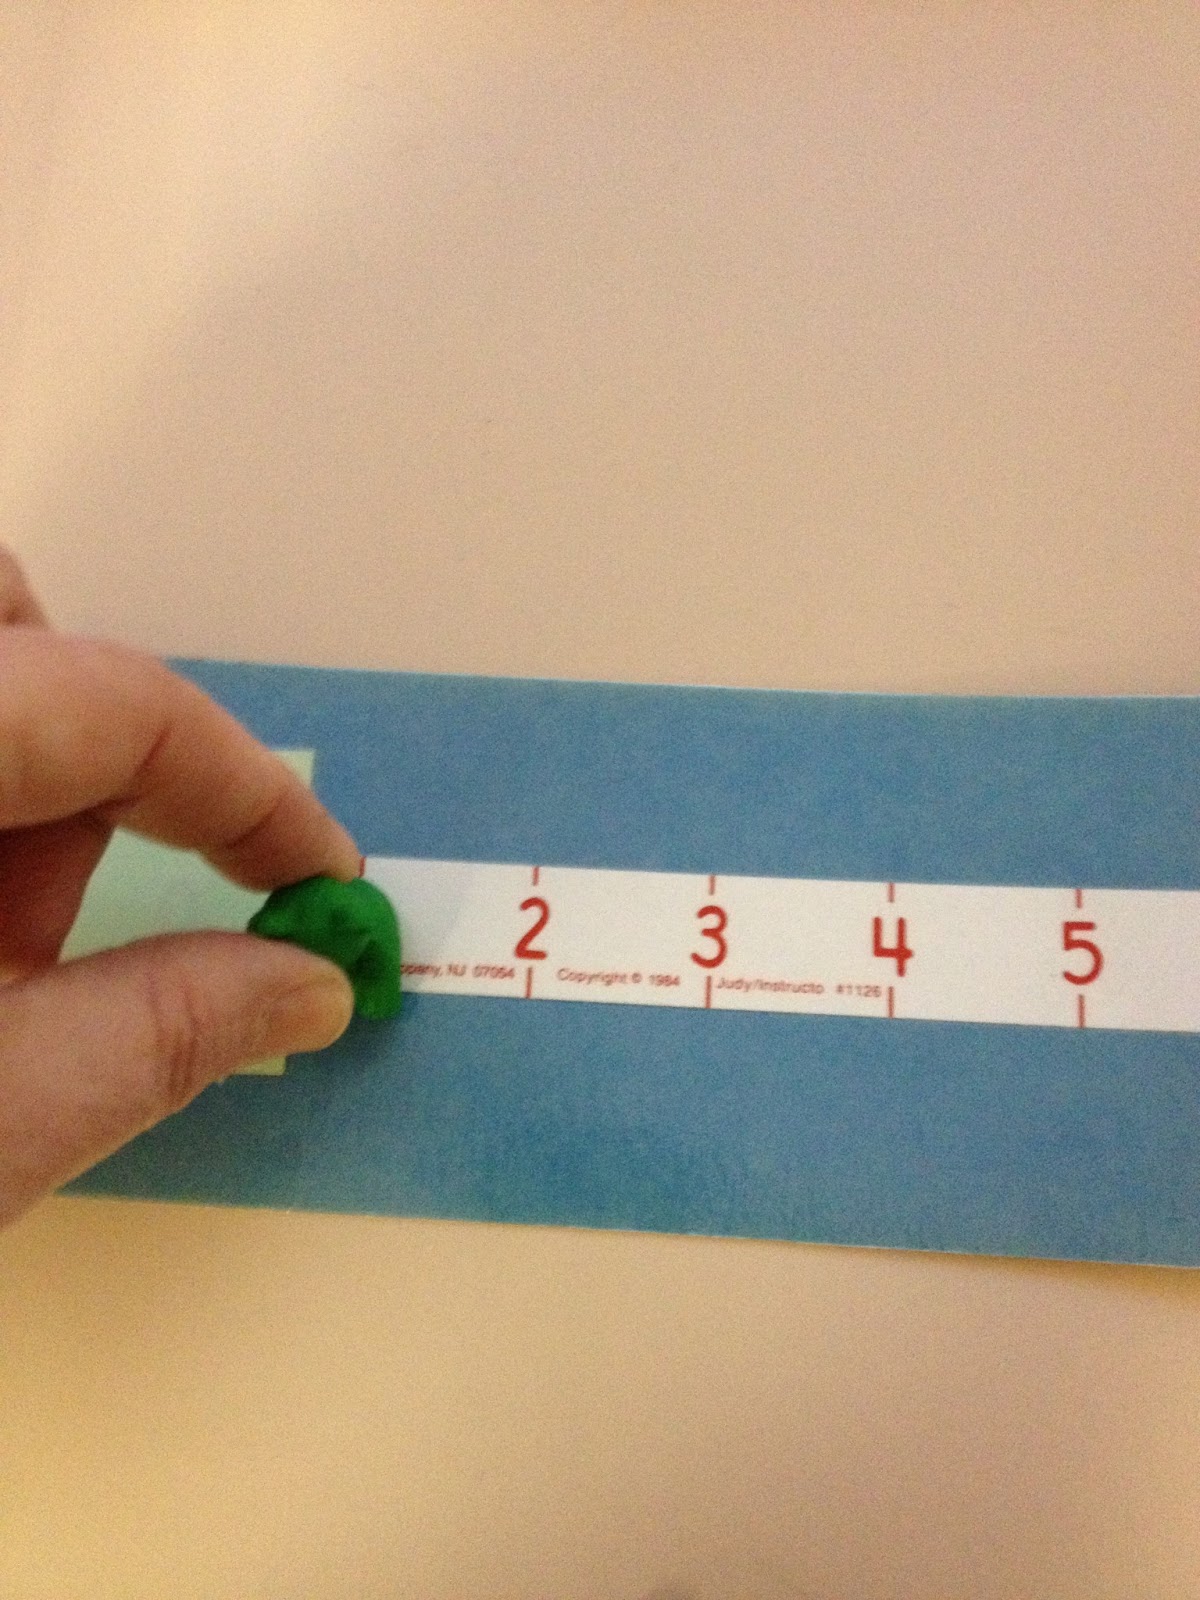
The power of pictures became very evident to me when I was attempting to work with an Autistic student. He was resistant to sitting with me to do the lesson. I put a picture of the work table on his schedule and he willingly walked to and sat at the table. The lesson was one to one correspondence counting to 10. I had a number line 1-10 and 10 counting bears. I modeled first, placing a bear on the number 1 and saying “1” and so on. Nothing. I tried a little hand over hand. Bad idea! He screamed and got under the table. I got out my digital camera, took pictures of myself placing a bear on the number line, I went up to 5, hoping he would continue after getting to that point. I printed them out in black and white (color ink is expensive and we usually have to buy it!), glued it on a strip of construction paper.
I went back to the work table, yes, he was still sitting under there! I got on the floor and showed him the picture strip, I had starred the first picture of the sequence. Here is the miracle! He took the strip from me, got up, sat in the chair, and completed the activity! He smiled big at me! It seemed he was saying “Finally! You are making sense!” I nearly cried. After that, he happily worked with me whenever it was on his schedule, our “work schedule” got less detailed, but he still would try everything I presented to him.
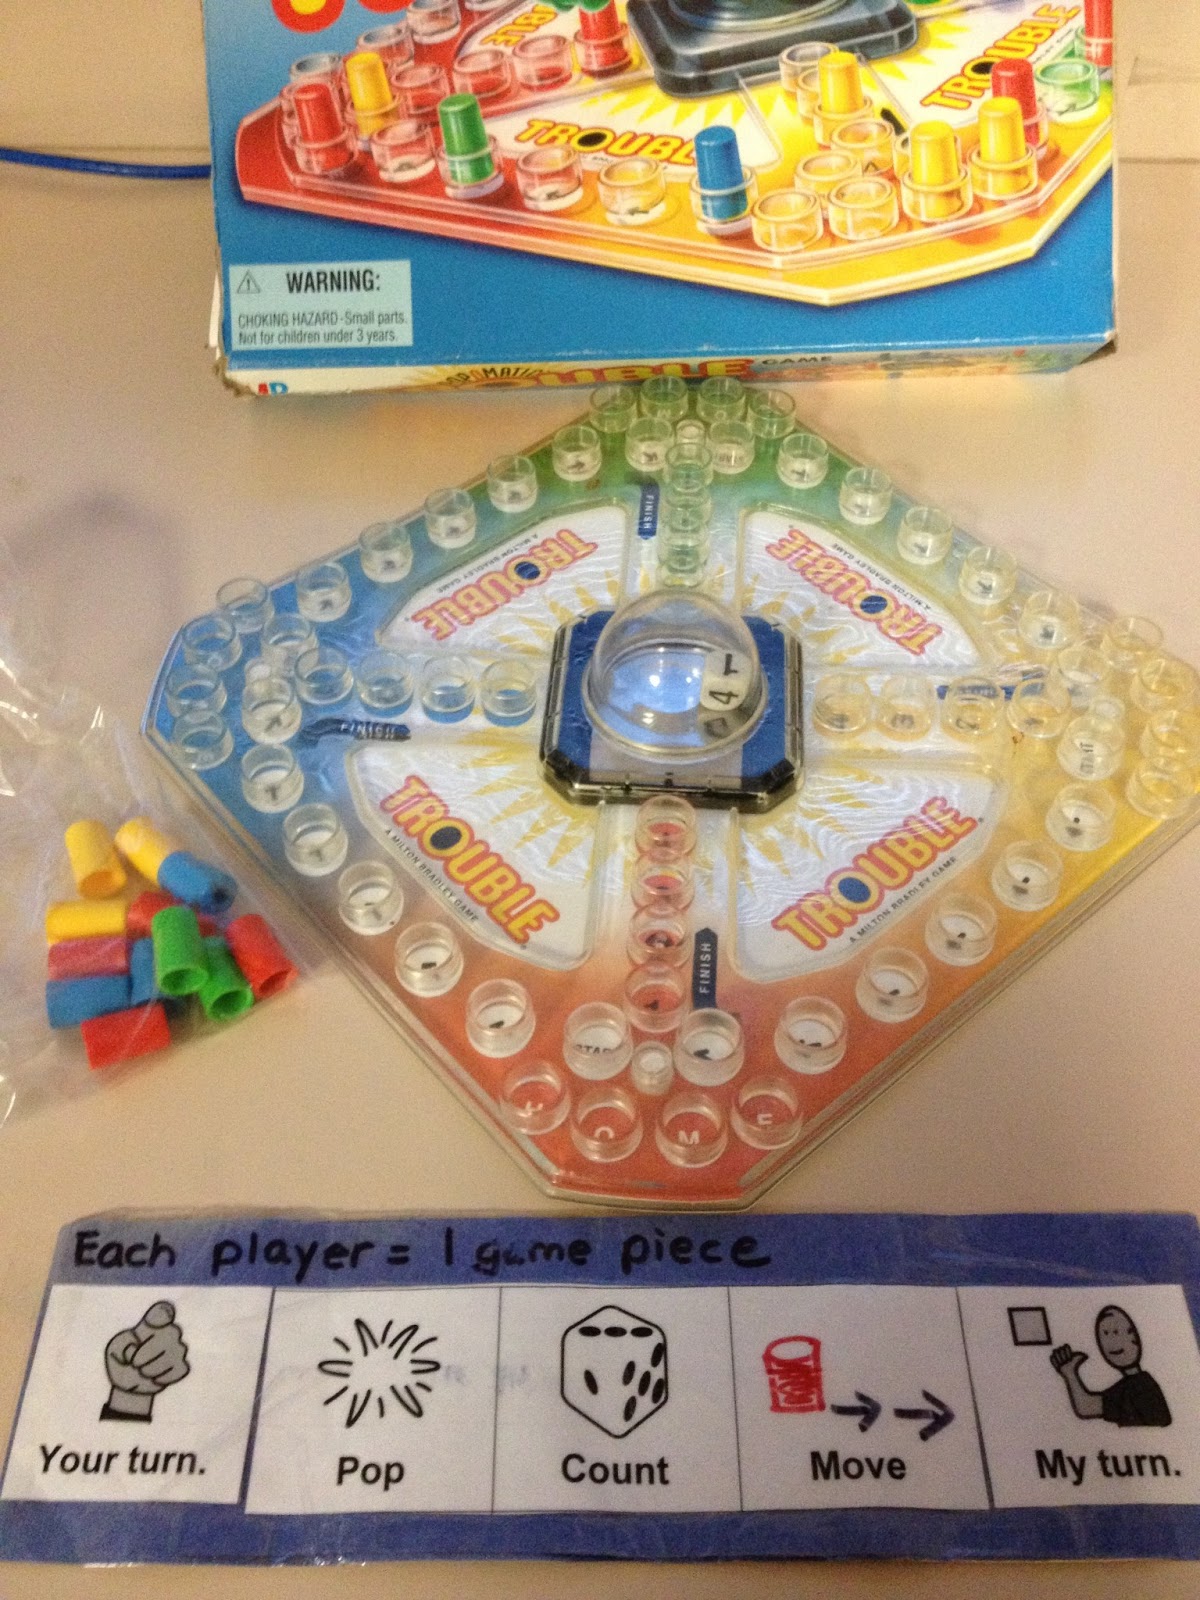
Schedules and instructions aren’t the only uses for visuals in a classroom. They can be amazing in behavior management, show a student a strip with 1-5 on it while he is engaged in a fun activity, tell him (or sing it) “5 more minutes to play”, he removes the 5; adult moves away; return in a short time (we don’t really time the minute) and say/sing “4 more minutes to play”; repeat until student removes the last number and gently begin the clean up song. Depending on your student’s needs, a picture of the “clean up” might be under the 1. The key is for the student to move the numbers, they acknowledge they know a transition is coming up. We sang it because our student loved music and singing, we could get him to look and focus with music.
Organizing all these visuals is overwhelming! You have spent a lot of time printing out these cards for specific activities and will use them over and over, but you need to be able to find them when needed again! I am still working on the perfect organizational system for them, I have 3 drawers full of bags of cards and strips with Velcro. When I pack for summer school, I try to figure out how to travel with them and make them useful. One idea I have used for the last couple of years is a large 3 ring binder system. Cut file folders in half, label the tabs, apply rows of Velcro so your cards will stick, then you can flip through quickly and find the picture you need.


Resources
Fettig, A. Meadan, H., Michna, A., Ostrosky, M., Triplett, B. July/August 2011, “Using Visual Supports with Young Children with Autism Spectrum Disorder”, Teaching Exceptional Children.
TEACCH (Treatment and Education of Autistic and Related Communication-handicapped Children) Classroom Training, 2009.
http://www.do2learn.com
Pictures were made from Mayer-Johnson's Boardmaker and/or Writing with Symbols 2000 programs.
No comments:
Post a Comment